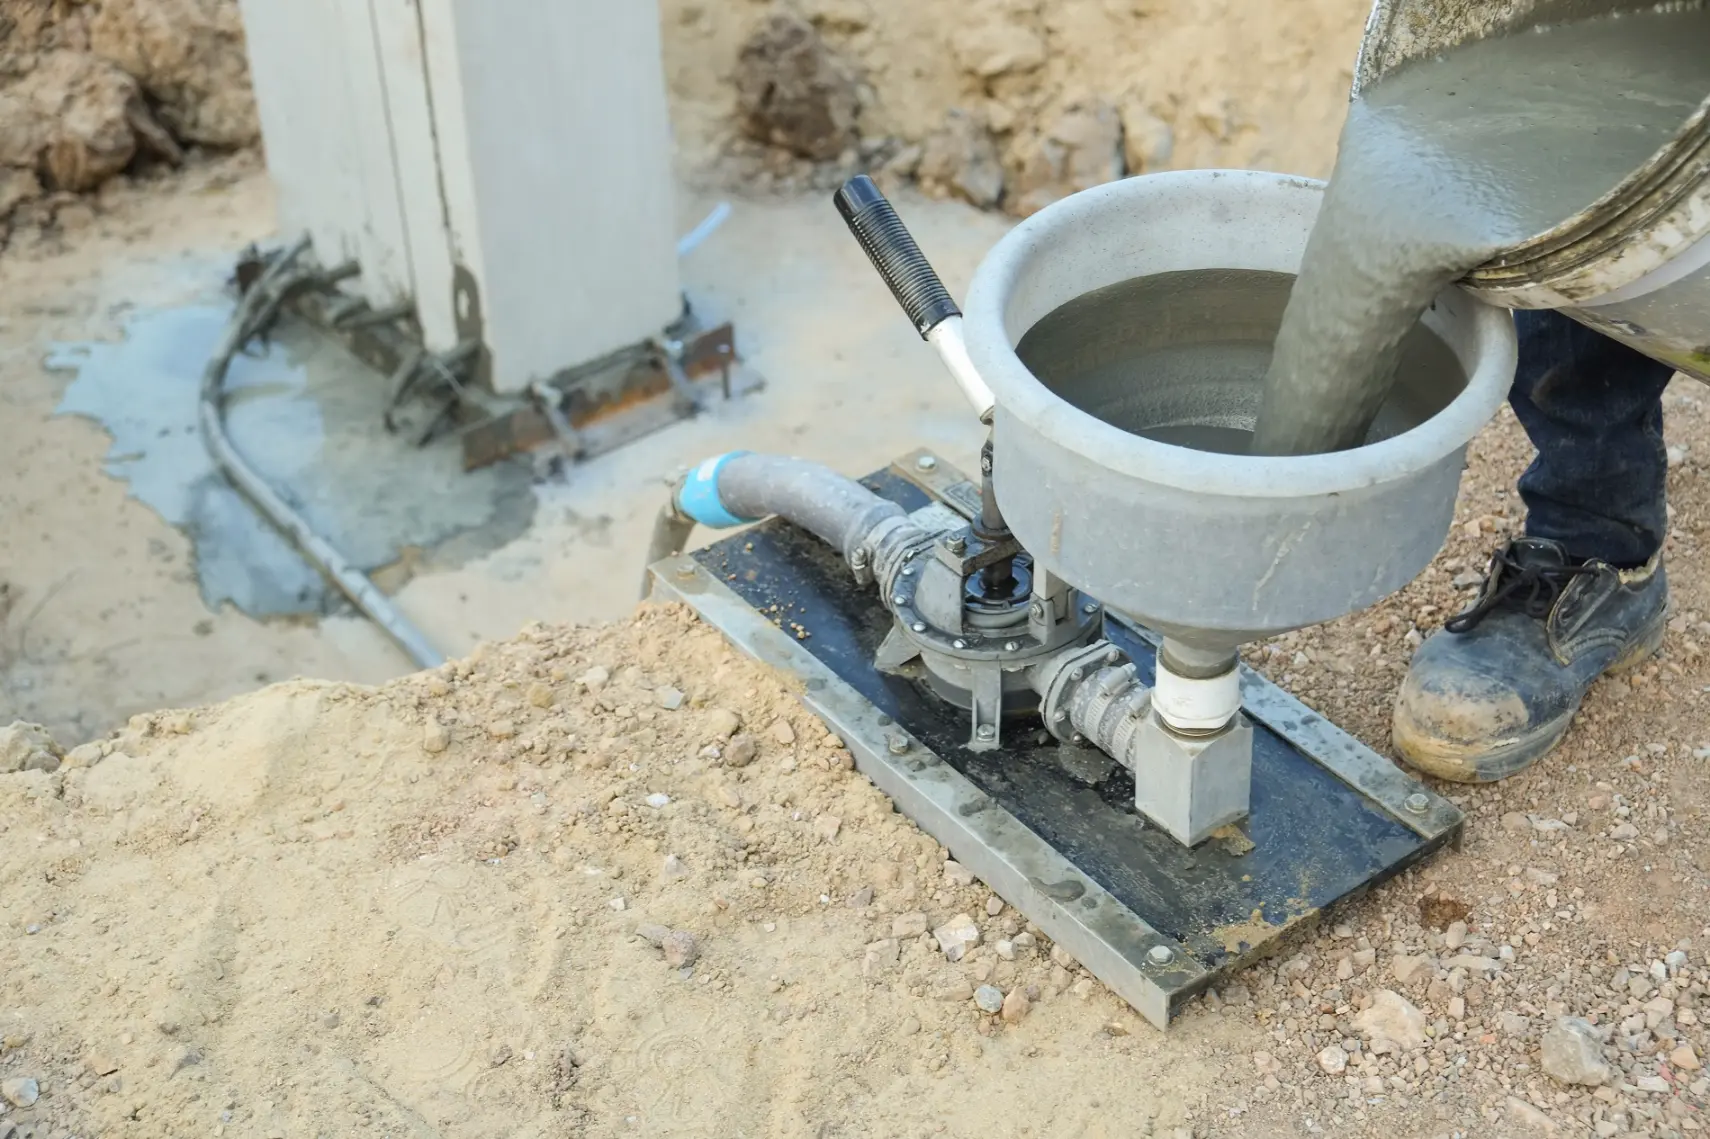
Proper preparation and placement of cementitious grout are essential for ensuring long-lasting stability and performance in industrial applications. From cleaning and presoaking the substrate to managing temperature and consistency, each step in the process contributes to the grout’s strength, durability, and resistance to shrinkage. This guide outlines best practices for preparing surfaces, mixing grout, and executing a smooth, efficient placement to achieve optimal results, even in the most demanding environments.
Preparation
Concrete Substrate
Proper preparation is crucial for effective grout placement. Clean and roughen the concrete substrate, then presoak with water for 18–24 hours. This prevents the substrate from absorbing water from the grout, which can cause shrinkage. Remove excess water just before applying grout, leaving the surface damp.
Baseplates and Sole Plates
Align and clean baseplates of grease, dirt, rust, or scale. Install air vents to prevent air pockets, especially for plates with shear keys. Baseplate heights vary depending on factors like load type. For depths exceeding 100 mm (4”), add up to 50% pea gravel for stability. Avoid depths less than 25 mm (1”) for cement-based grouts.
Forming for Grout Placement
Construct sturdy, watertight forms with a 25 mm (1”) clearance around the baseplate. Use a “head box” for efficient grout flow under the plate. Ensure forms allow gravity filling and expansion joints for long pours.
Temperature Control
For cold weather, warm the substrate, grout, and water to at least 4°C (40°F). For hot weather, use cool water and shade materials. Moderate temperature extremes to maintain grout performance.
Grout Placement: Plan Your Pour
Consistency
Choose grout based on ASTM C-1107 compliance for all consistencies (dry-pack, plastic, or fluid). Proper consistency depends on baseplate clearance and job complexity.
Mixing
For large batches, use paddle-type mixers. Begin with two-thirds water, add grout powder, and mix for 5 minutes until lump-free. For small batches, mix in a pail with a drill attachment. Adhere to manufacturer instructions for water ratios.
Depth of Pour
For pours over 100 mm (4”), add pea gravel to reduce heat buildup or pour in 75–100 mm (3–4”) lifts. Consult manufacturers for specific guidelines.
Grout Placement: Continuous and Rapid
Place grout quickly and from one side to avoid cold joints or air pockets. Fill anchor bolt holes first. Minimize excessive vibration to prevent segregation. Cover immediately with wet rags or curing compound.
Finishing and Protection
Finishing
Cut exposed grout shoulders at a 45° angle to evenly distribute loads. Resume curing immediately after trimming.
Curing
Start curing immediately with wet rags, plastic sheeting, or curing compounds to prevent cracks.
Temperature and Vibration
Maintain grout above 4°C (40°F) and avoid freezing. Reduce vibration until grout reaches 3000 psi strength.
Learn more about cementitious grout installation here


